Usage Environment
1 | Ambient temperature | 5~35℃ |
2 | Ambient humidity | 85%R.H 25℃ |
3 | Atmospheric pressure | 86~106Kpa |
4 |
Environmental conditions
| There is no strong vibration, strong electromagnetic field interference, high concentration of dust and corrosive substances, direct sunlight or other direct radiation from other heat sources around the equipment site. |
The equipment should be placed horizontally in a well-ventilated test room, with sufficient space around it for operation and maintenance. |
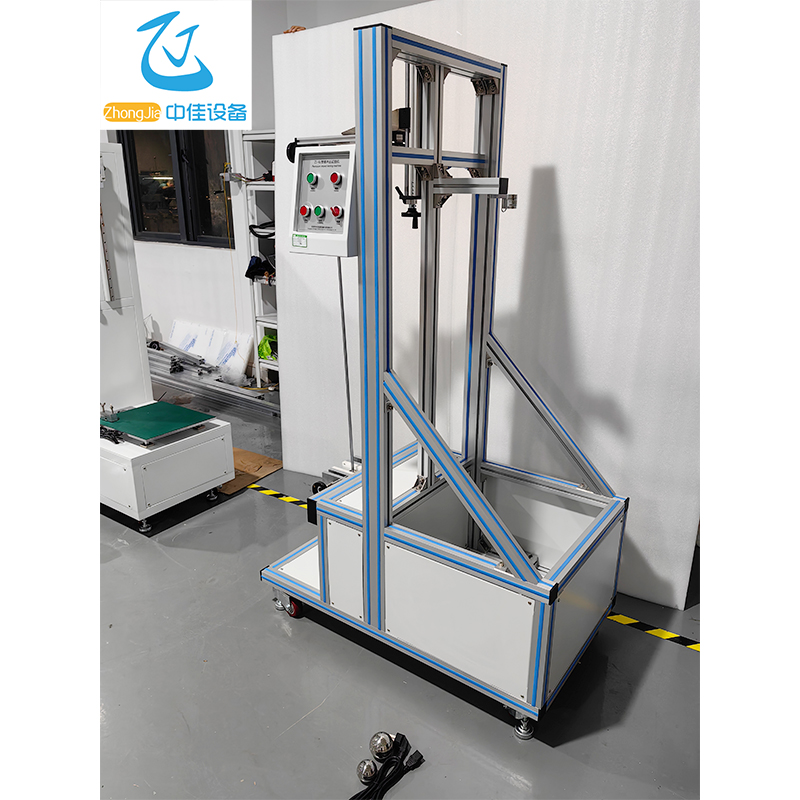
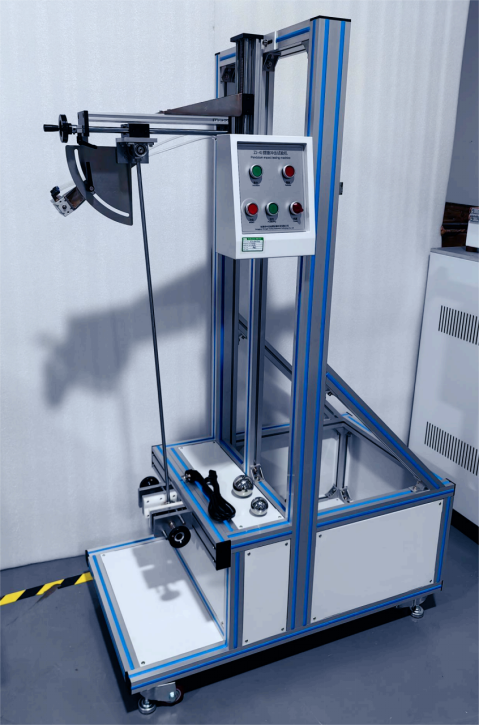
Picture of the whole machine
Picture 1 is for reference only, the actual product shall prevail
Panel Description
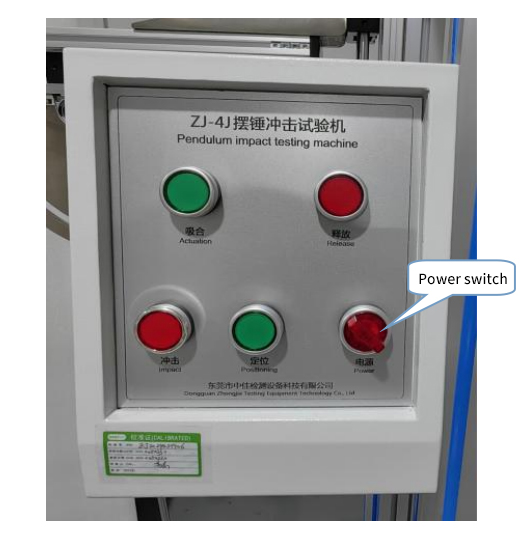
Figure 1
Figure 2
Figure 3
Figure 4
Operation Instructions
1. Connect the instrument to an external power supply AC220V. Turn on the power switch of the control panel (Figure 1). The touch screen enters the standby interface. Click the blank position in the middle to enter the monitoring/operation interface. Figure 6
Figure 5
Figure 6
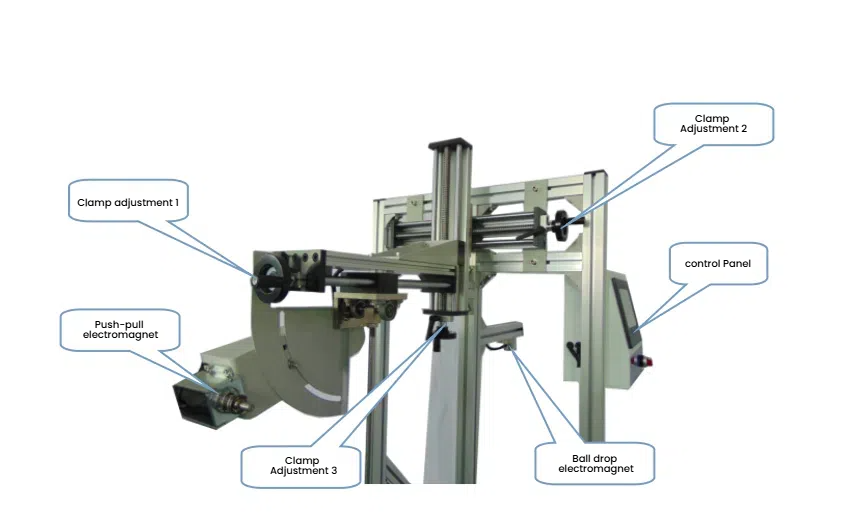
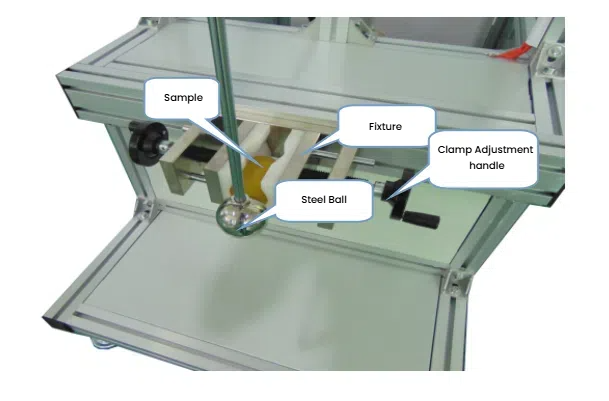
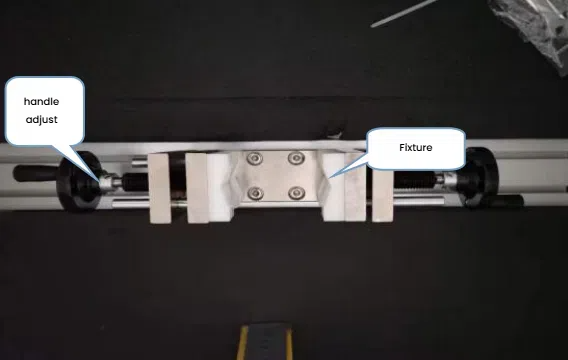
Pendulum ball impact: Click the rod retract button. At this time, the push-pull electromagnet retracts and manually lifts the pendulum to the upper end of the electromagnet. Click the rod retract button again. The electromagnet extends to block the pendulum to prevent it from falling. Install the sample in the clamp seat at the lower end of the pendulum as required (Figure 3). Tighten the left and right handles to clamp the sample. Press the rod to retract and adjust the clamp adjustment 1/2/3 so that the pendulum is perpendicular to the sample and against the sample. Then lift the pendulum to the electromagnet just now and block the pendulum position. Use a steel ruler to measure the horizontal position of the test point and the vertical height H of the pendulum, and adjust the angle of the electromagnet bracket to make the height of the pendulum reach the required height. Press the pendulum impact reset button on the touch screen to clear the previous test times. Press the release button, the pendulum falls and counts once. Test completed
Pendulum impact: Install the sample on the side of the falling ball (Figure 4), and tighten the sample in the middle position with the left and right handles. Place the falling ball at the bottom of the falling ball electromagnet. The electromagnet will attract the falling ball. Click the panel falling ball impact reset button to clear the last test times. Press the release button. Both sides of the falling ball are on the sample. Test completed.