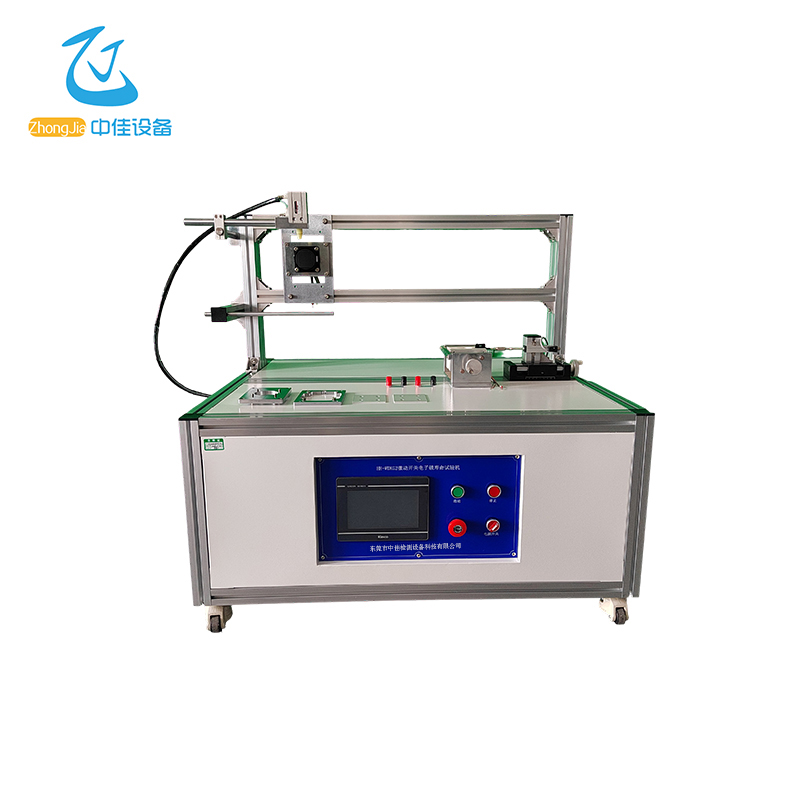
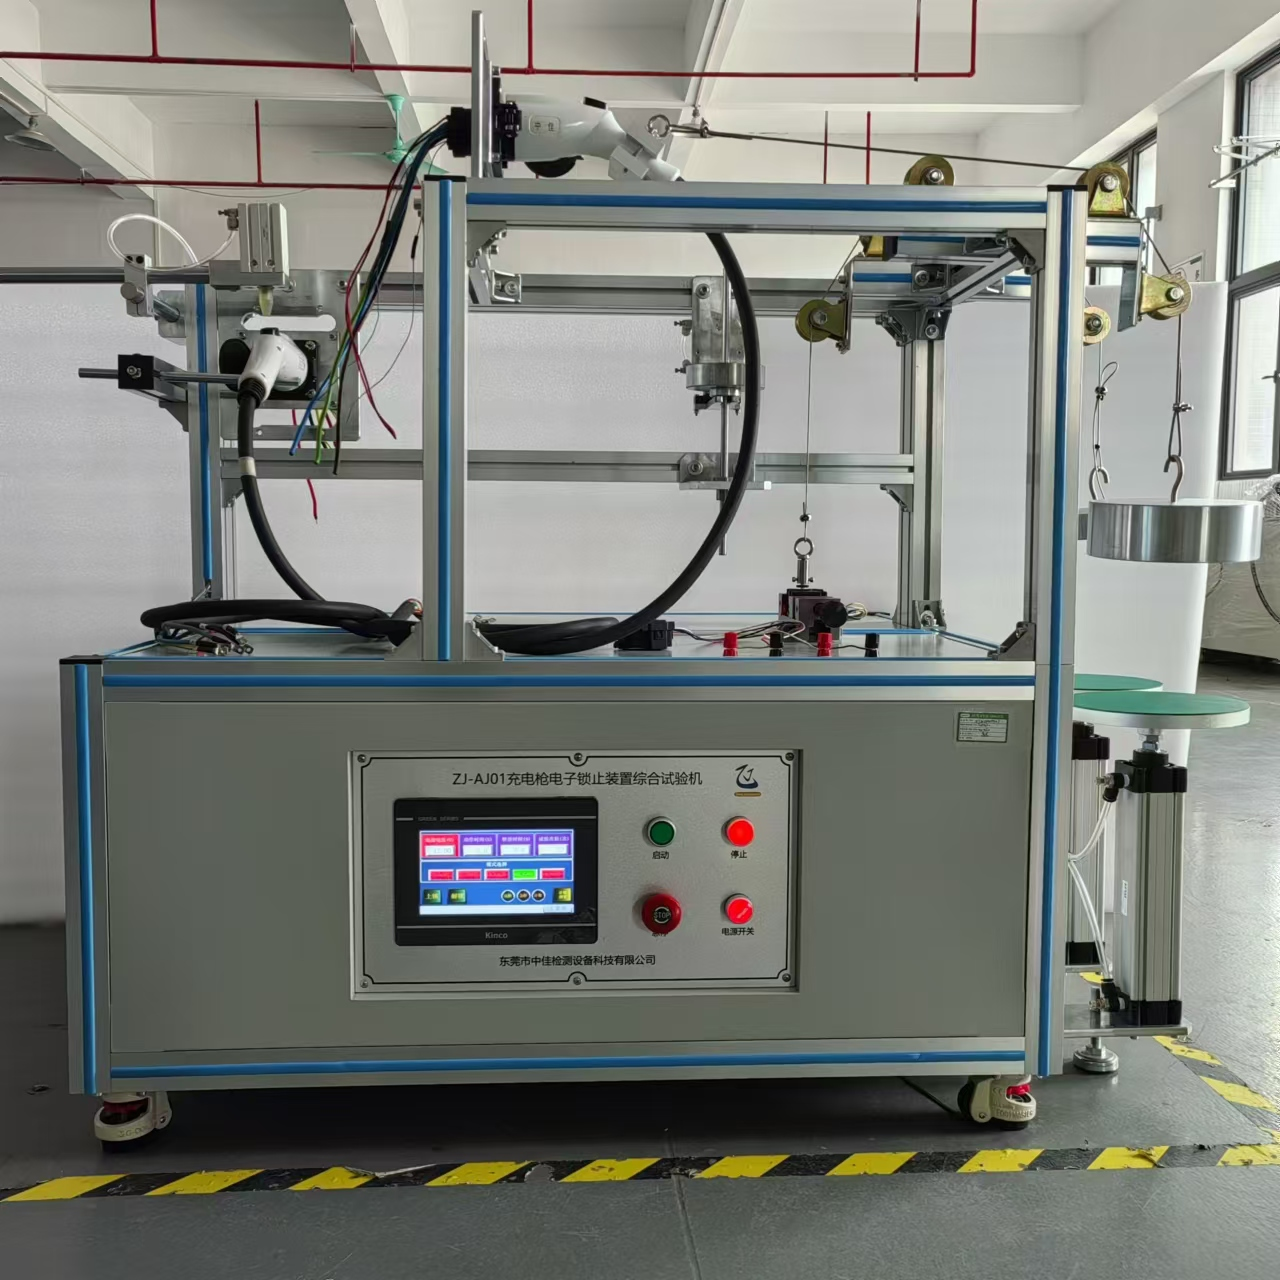
Picture of the whole machine
Picture (1) Front view (for reference only, subject to the actual product)
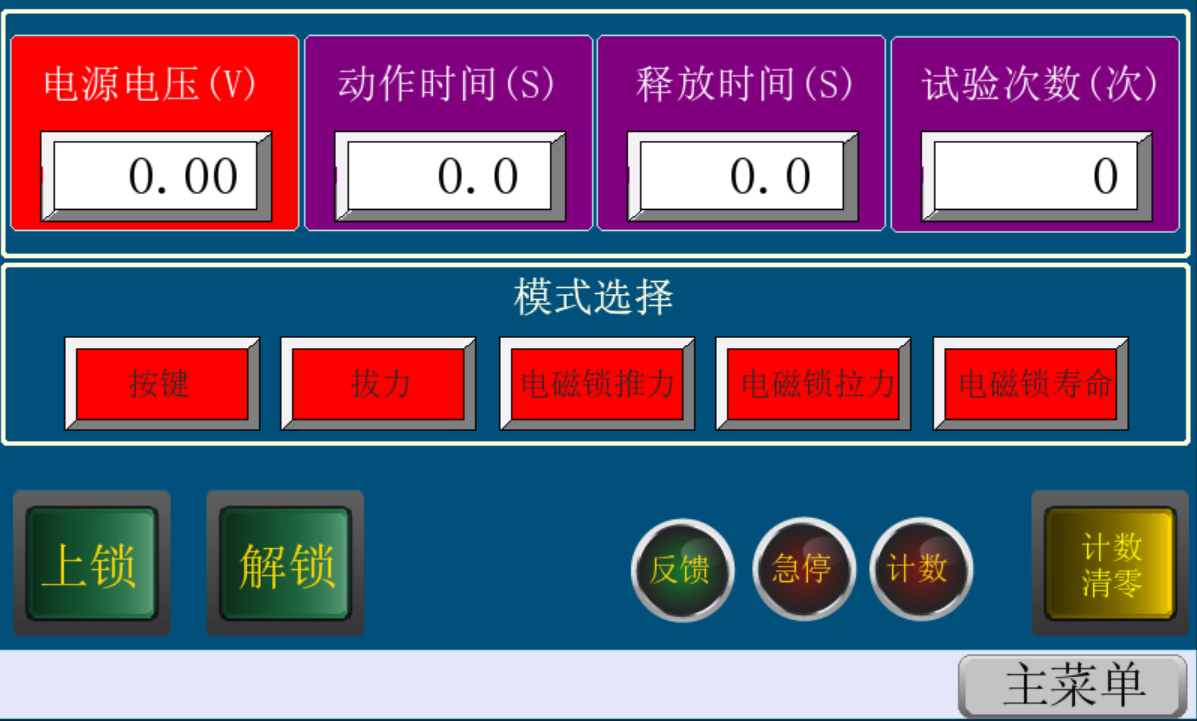
Panel description
Figure (2) Control panel
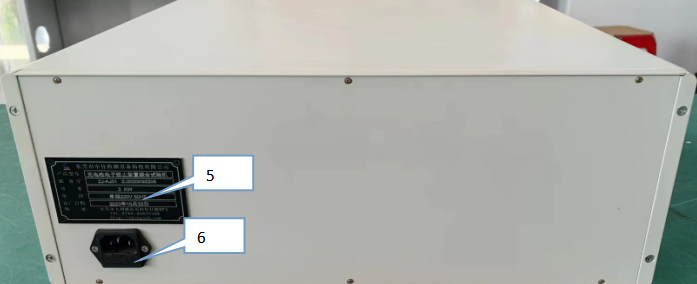
Figure (3) Back panel
① Touch screen control: set parameters and monitor.
② Power switch: total power of the whole machine.
③ Emergency stop switch.
④ Stop button.
⑤ Instrument nameplate information.
⑥ Power input AC220V.
Instructions
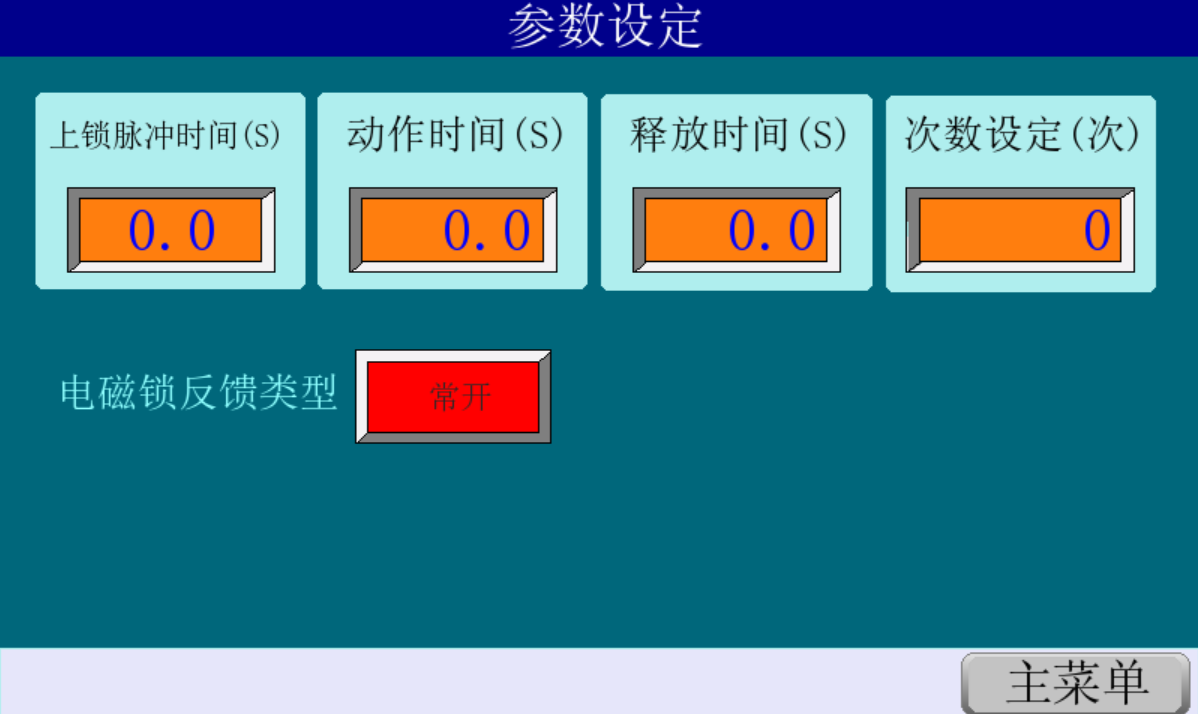
1. Connect the power supply to the single-phase 220V input, turn on the "power switch" on the control panel, and the touch screen lights up and automatically enters the function test "Parameter setting" interface, as shown in Figure 4:
Figure 4
Connection time: set the connection time 0.1 seconds to 99.9S
Disconnection time: set the disconnection time 0.1 seconds to 99.9S
Output time: set the output time 0.1 seconds to 99.9S
Total count: set the number of cycles: 1 to 999999 times
Defect count: set the number of defects: 1 to 9999 99 times
(Can be powered off and maintained, automatically shut down and sound and light alarm when the number is reached)
Detection off: detection signal input is closed
Detection on: detection signal input is turned on
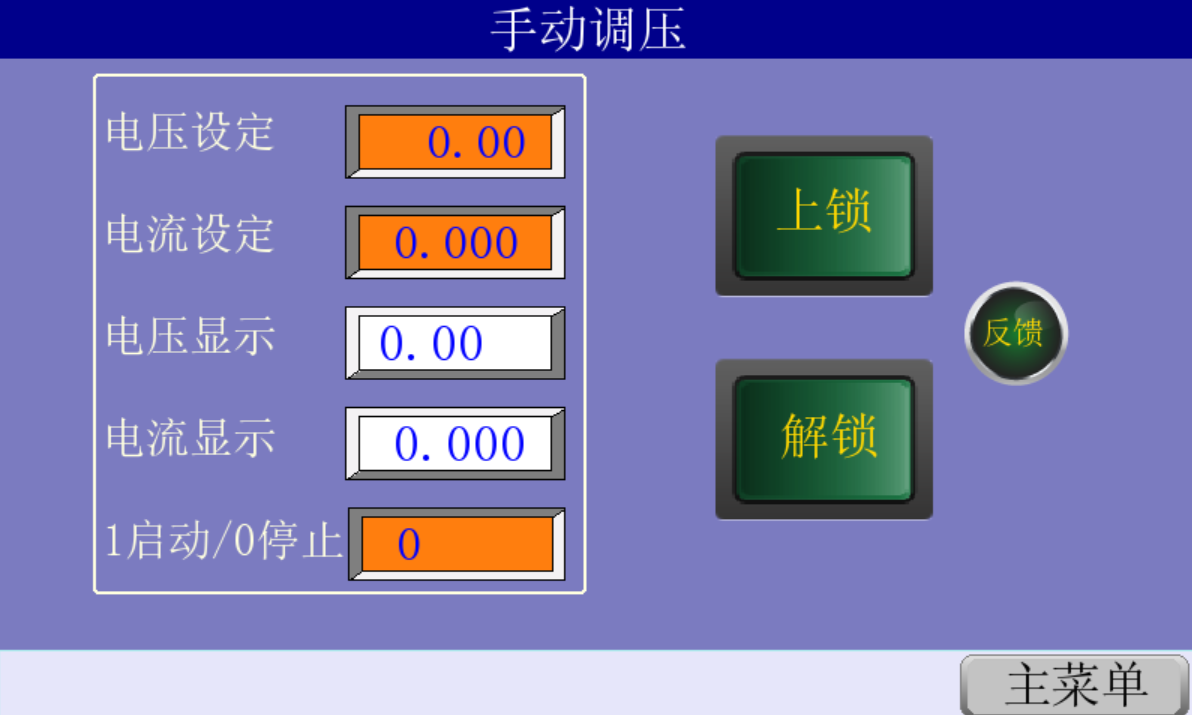
2. Click on the touch screen to enter the "Manual Interface", as shown in Figure 5
Figure 5
Signal light: voltage output signal display
Output positive voltage: positive power supply voltage output
Output reverse voltage: reverse power supply voltage output
3. After setting the relevant parameters of the test, click on the touch screen to enter the "Monitoring Interface", as shown in Figure 6
Figure 6
Signal light: voltage output signal display
On time: display the current on time (s)
Off time: display the current off time (s)
Total count: display the current number of cycles
Defective count: display the current number of defects
Coil voltage setting: set the coil voltage value (DC 0-15V adjustable)
Coil voltage display: display the current coil voltage value
Press the "Start" button: start the test
"Stop" button: stop the test
"Count reset" button: reset the number of times